Multiple format map series using QGIS 2.6 - Part 1
As always, the new QGIS version (QGIS 2.6 Brigthon) brings a vast new set of features that will allow the user to do more, better and faster than with the earlier version. One of this features is the ability to control some of the composer’s items properties with data (for instance, size and position). Something that will allow lots of new interesting usages. In the next posts, I propose to show how to create map series with multiple formats.
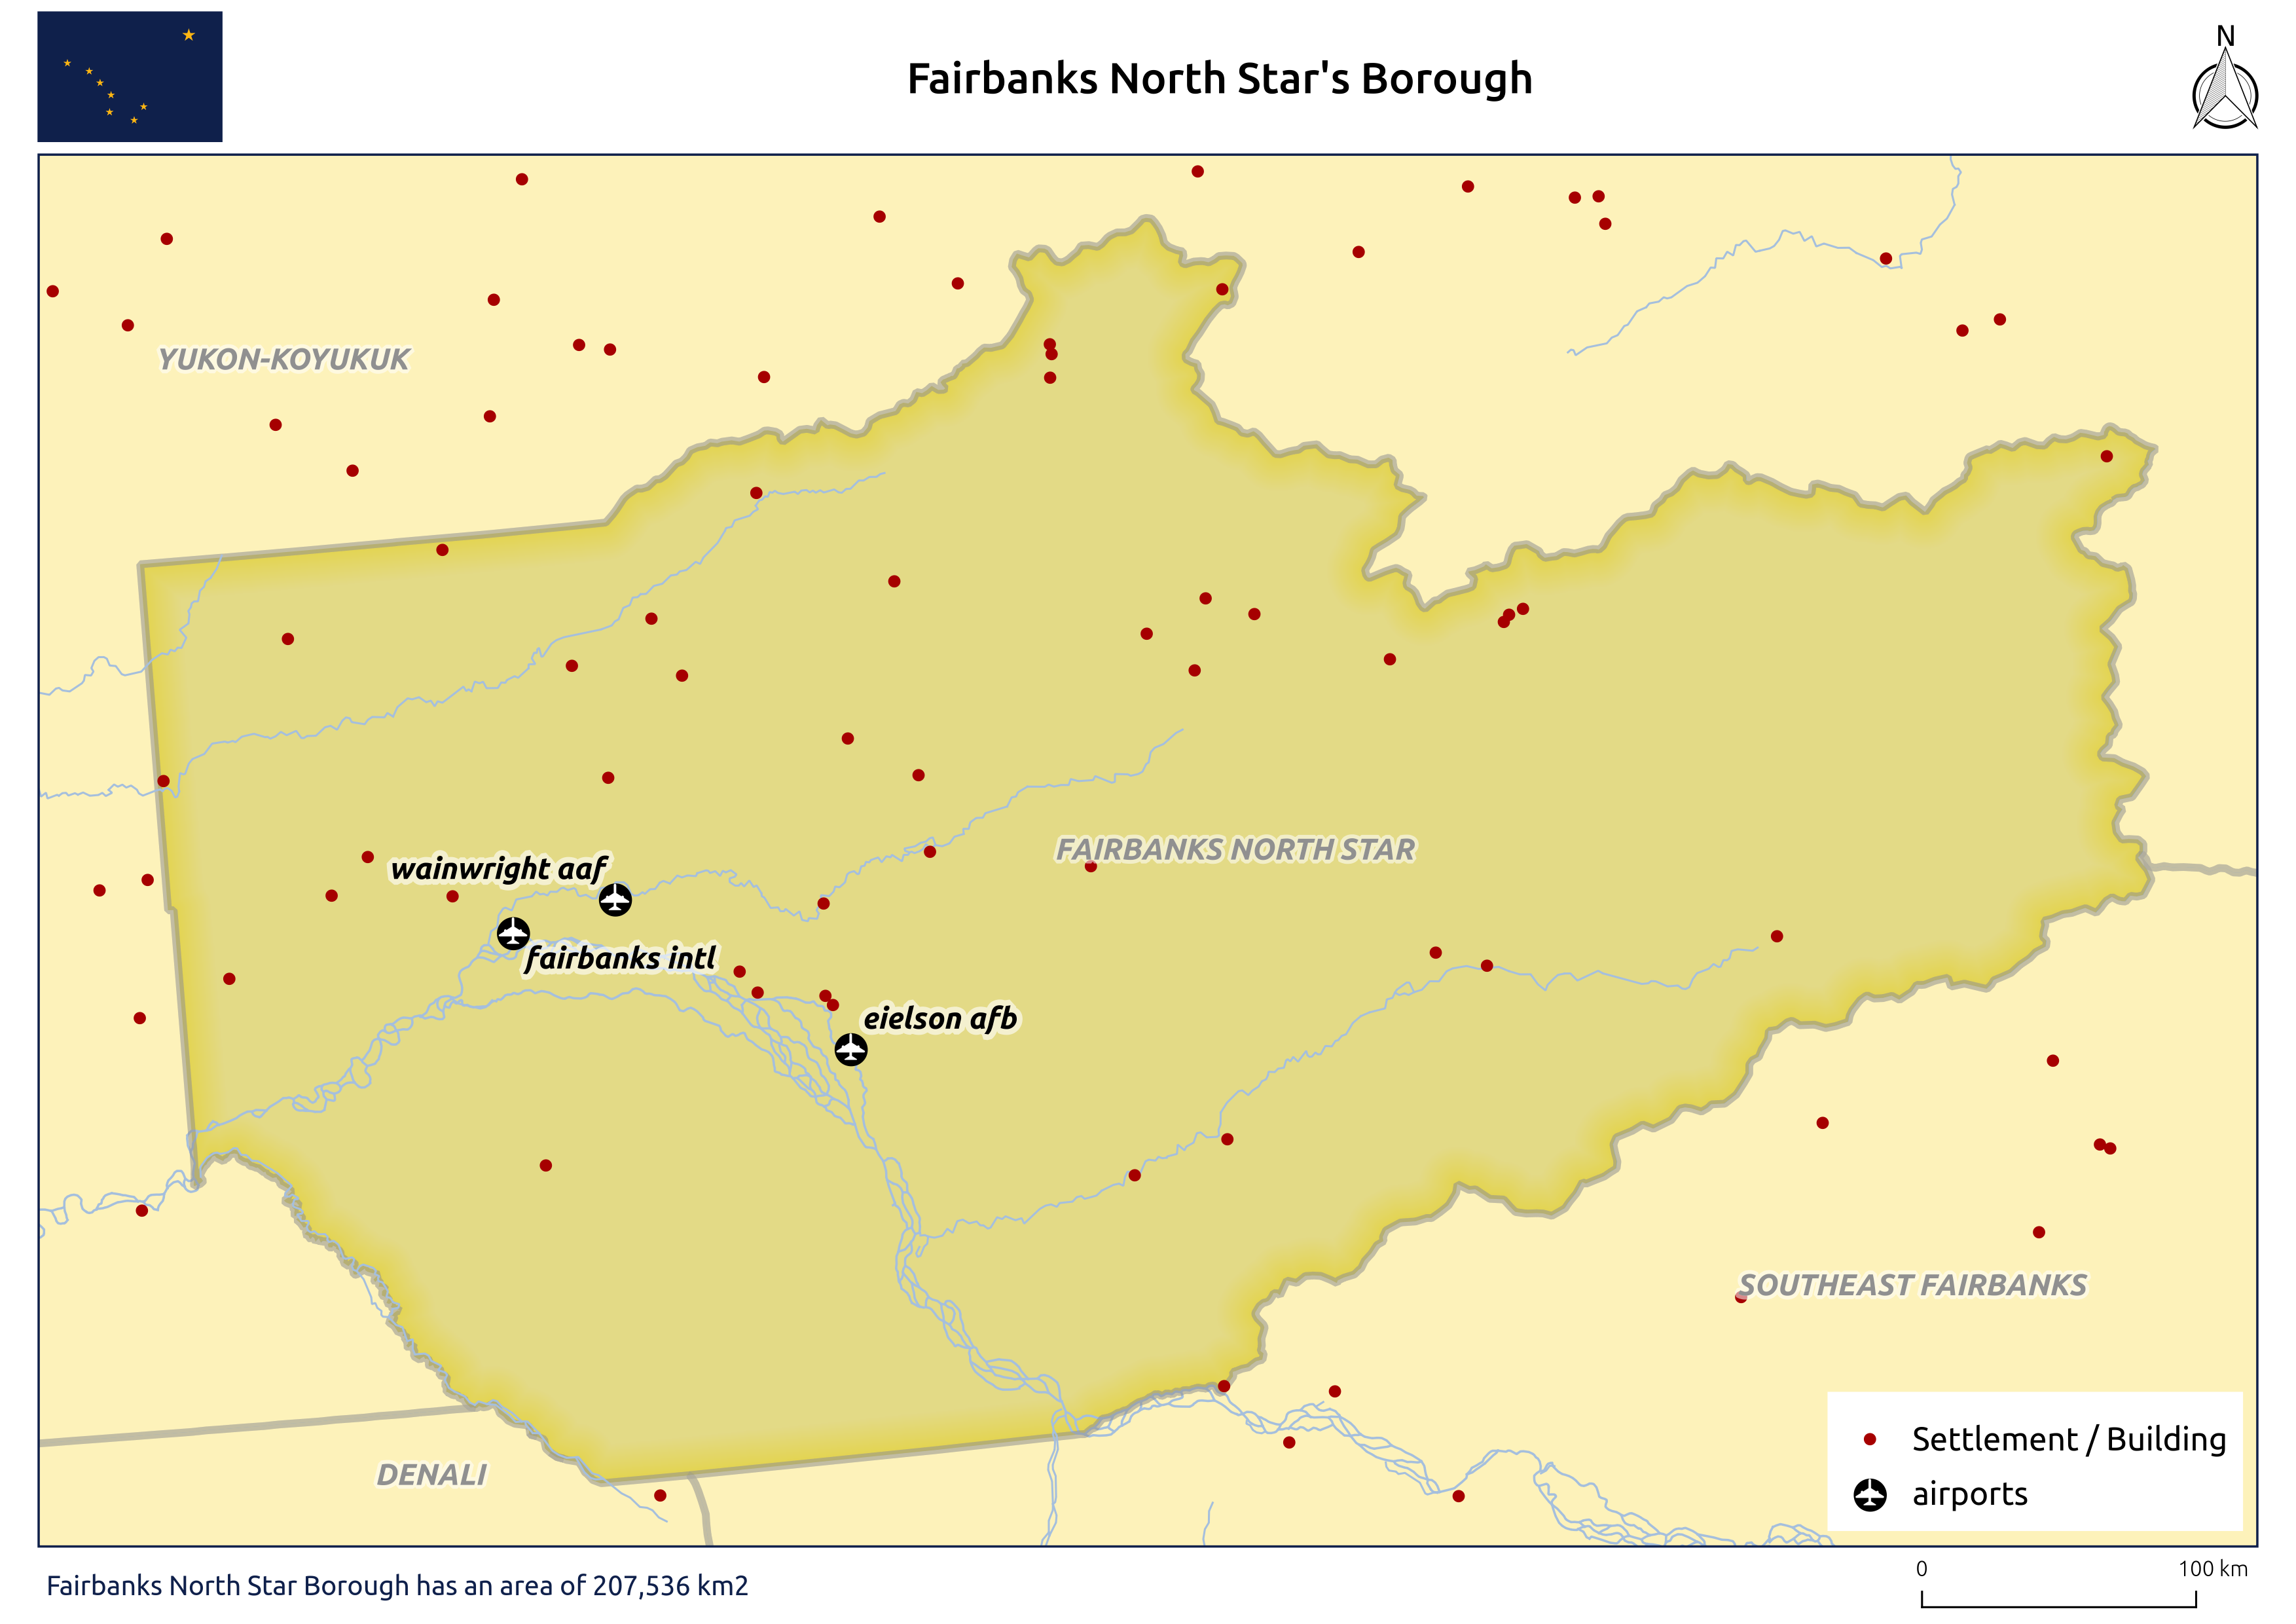
In this first post, the goal is that, keeping the page size, the map is created with the most suitable orientation (landscape or portrait) to fit the atlas feature. To exemplify, I will be using the Alaska’s sample dataset to create a map for each of Alaska’s regions.
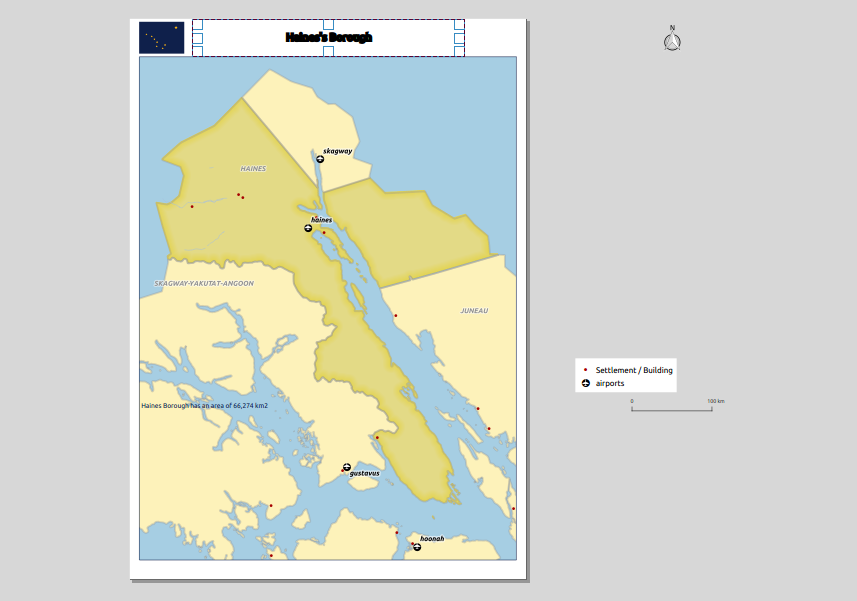
I have started by creating the layout in one of the formats, putting the items in the desired positions.
To control the page orientation with the atlas feature, in the composition tab, I used the following expression in the orientation data defined properties:
CASE WHEN bounds_width( $atlasgeometry ) >= bounds_height( $atlasgeometry ) THEN 'landscape' ELSE 'portrait' END
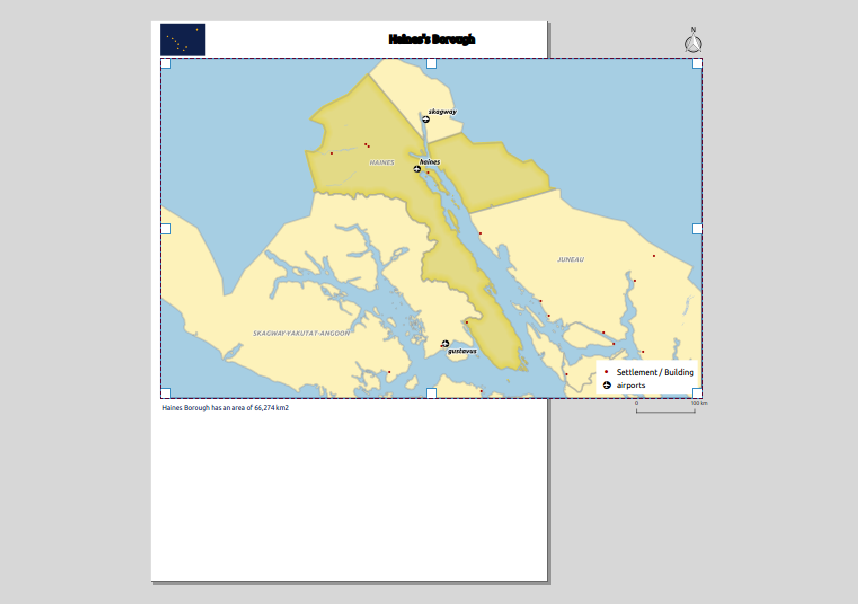
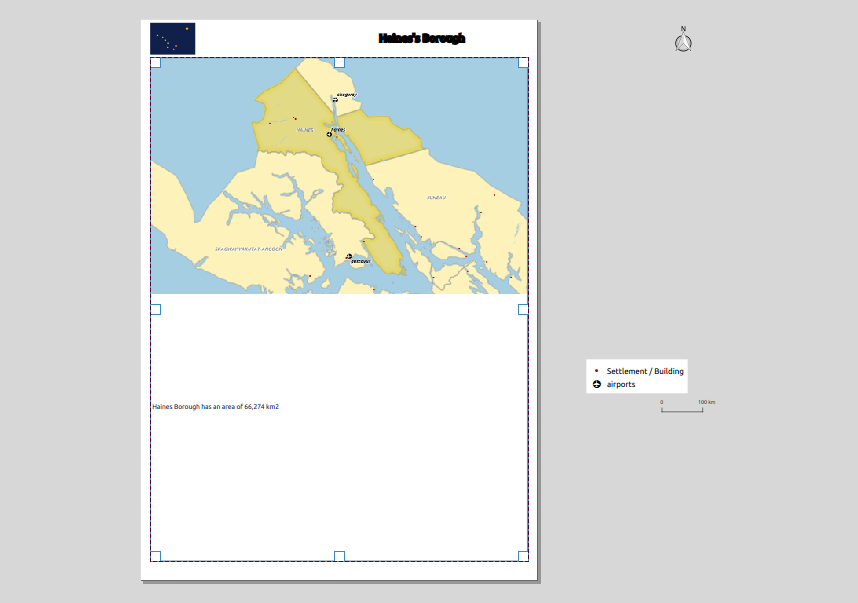
Using the atlas preview, I could verify that the page’s orientation changed according to the form of the atlas feature. However, the composition’s items did not follow this change and some got even outside the printing area
To control both size and position of the composition’s items I had in consideration the A4 page size (297 x 210 mm), the map margins ( 20 mm, 5 mm, 10 mm, 5 mm) and the item’s reference points.
For the map item, using the upper left corner as reference point, it was necessary to change it’s height and width. I knew that the item height was the subtraction of the top and bottom margins (30 mm) from the page height, therefore I used the following expression:
(CASE WHEN bounds_width( $atlasgeometry ) >= bounds_height( $atlasgeometry) THEN 297 ELSE 210 END) - 30
Likewise, the expression to use in the width was:
(CASE WHEN bounds_width( $atlasgeometry ) >= bounds_height( $atlasgeometry) THEN 210 ELSE 297 END) - 10
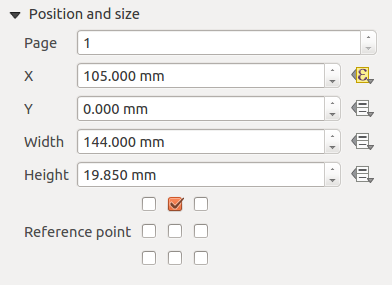
The rest of the items were always at a relative position of the page without the need to change their size and therefore only needed to control their position. For example, the title was centered at the page’s top, and therefore, using the top-center as reference point, all that was needed was the following expression for the X position:
(CASE WHEN bounds_width( $atlasgeometry ) >= bounds_height( $atlasgeometry) THEN 297 ELSE 210 END) / 2.0
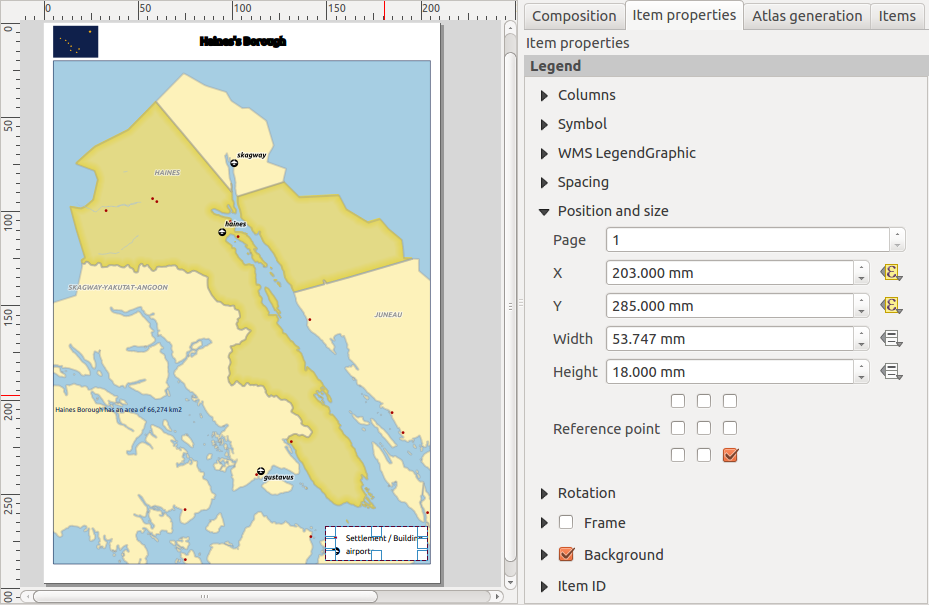
On the other hand, the legend needed to change the position in both X and Y. Using the bottom-right-corner as reference point, the X position expression was:
(CASE WHEN bounds_width( $atlasgeometry ) >= bounds_height( $atlasgeometry) THEN 297 ELSE 210 END) - 7
And for the Y position:
(CASE WHEN bounds_width( $atlasgeometry ) >= bounds_height( $atlasgeometry) THEN 210 ELSE 297 END) - 12
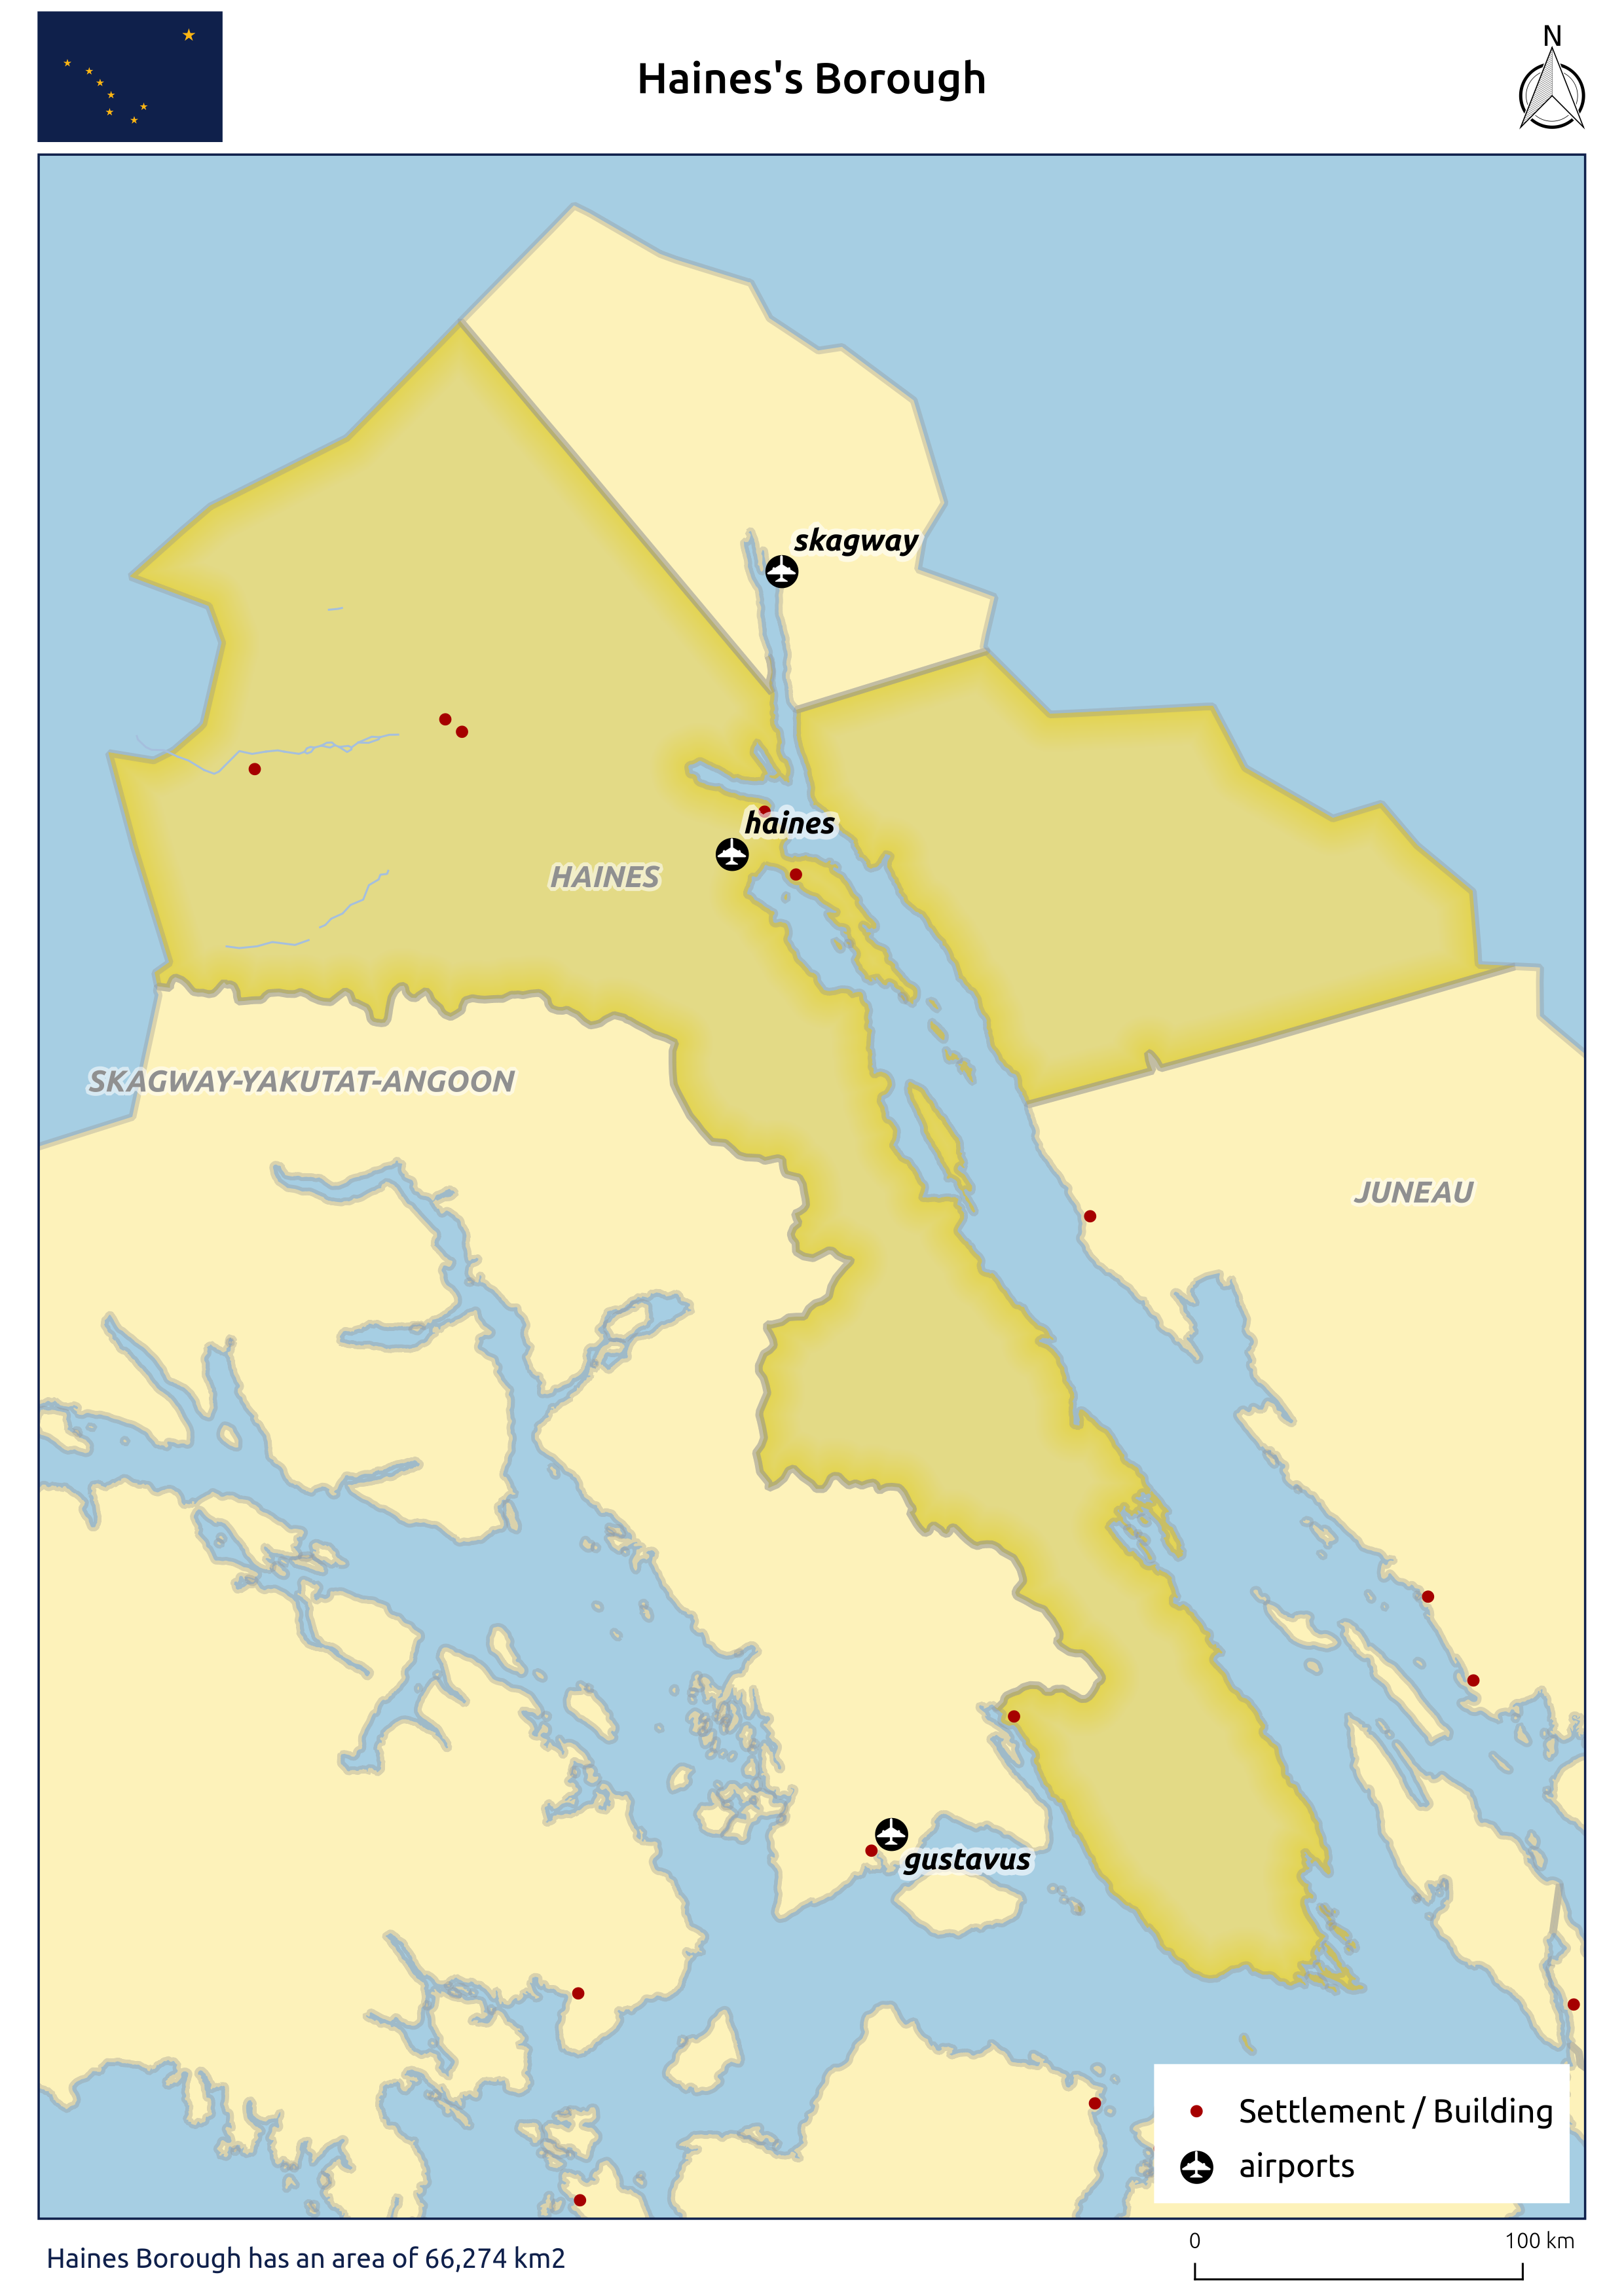
For the remaining items (North arrow, scalebar, and bottom left text), the expression were similar to the ones already mentioned, and, after setting them for each item, I got a layout that would adapt to both page orientation.
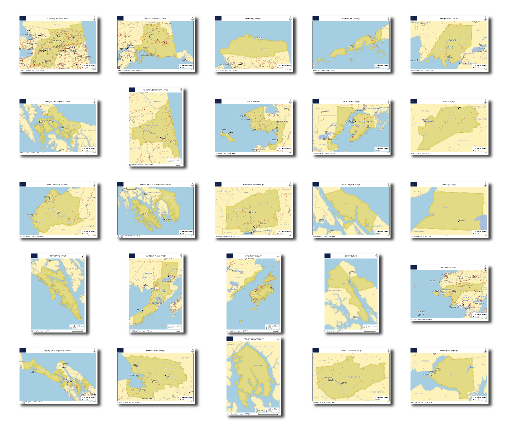
From that point, printing/exporting all (25) maps was one click away.
In the next post of the series, I will try to explain how to create map series where it’s the size of the page that change to keep the scale’s value of the scale constant.

